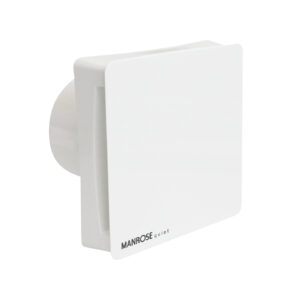
Extractor fans in the bathrooms are essential for removing moisture and bad odours from the bathrooms and to prevent damp.
When it comes to bathroom ventilation it is important to consider quiet operation, ease of installation and attractive design. Manrose’s Quiet Fan range and Silent Fan range ticks all the boxes. Manrose’s Quiet Fan range, includes Quiet Fan (QF100P, QH100H, QF100T, QF100S), Quiet Fan IPX5 (QF100SX5, QF100TX5, QF100HX5) and Quiet Fan Conceal (CQF100S, CQF100T, CQF100HT). Manrose’s Silent Fan range includes Silent Fan Conceal (CSF100H, CSF100S, CSF100T).

Extractor fans such as axial fans can be fitted in a bathroom’s exterior wall or in a window. The fans can be operated by a pull-cord. Some can be wired to the light switch and will turn on with the light and will continue to stay on for a set time period after the light is switched off. Some switch on when the humidity in the bathroom reaches a certain level.
- Step 1 – It is good practice to mount the fan as high as possible on the wall. Mark the place where you want to install the fan. Ensure there are no wires or pipes in the place where you want to install the fan. Drill through the wall to make the required hole.
- Step 2 – If required, cut the ducting to the required length that goes from the fan unit, through the thickness of the wall and onto the external grille. Secure the fan to the ducting using the ducting clamp.
- Step 3 – Push the fan and ducting into the hole. Ensure the electrical wire is fed through the hole and attached to the terminal block.
- Step 4 – Screw the fan body into place by drilling through the holes. Ask an electrician to make the connections.
- Step 5 – Fit the front cover.
- Step 6 – Fit the external grille.
Your extractor fan is now ready to use for a steam free bathroom.
Remember that modifications to any electrical circuit must comply with the latest IEE Wiring Regulations. We strongly advise you to ask an electrician to make the electrical connections for any installation.
